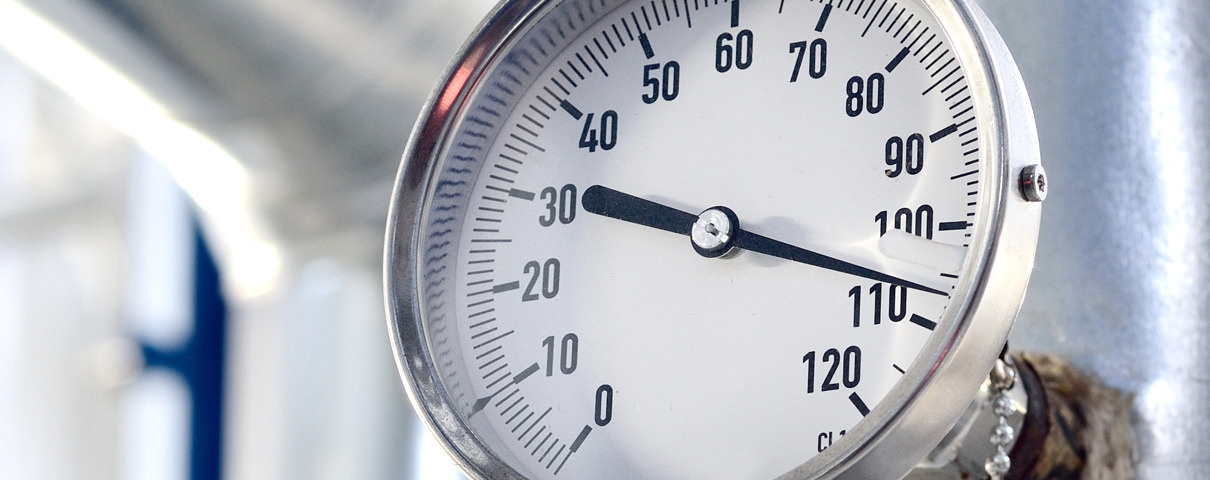
Are your gauges installed properly? WIKA’s FAST team of audit experts knows that all too often this isn’t the case. Not installing your gauges properly can lead to premature gauge failure and prevent you from troubleshooting issues with equipment or processes. Don’t let this happen at your plant. Use these six tips for proper gauge installation the next time you install a gauge.
Select the Right Gauge
Before you pull out a wrench, first make sure you have the right type of gauge for the application. The pressure gauge you choose must be the correct one for the:
- Expected pressure range to be measured
- Process media or fluid
- Process temperature
- Vibration levels
Even if you install the gauge perfectly, you could face the same problems you had before the installation if the gauge isn’t the right one for the job.
Apply Force Through Spanner Flats
Once you’ve chosen the correct gauge, pay attention to how you screw the gauge in. Rather than turning the case by hand, use a wrench to apply force through the spanner flats. Applying the force through the case or terminal box could damage the case connection. Not applying sufficient torque could result in leaks.
Seal the Deal
Notice the type of threads on the gauge before you seal it. If the gauge has parallel threads, seal it using rings, washers, or WIKA profile seals. If the gauge has tapered threads, additional sealing means, such as PTFE tape, are recommended. This is standard practice for any pipe-fitter because tapered threads do not provide complete sealing on their own.
Use a Clamp Socket or Union Nut with Straight Thread
When tapered threads are used, the installer has the luxury of adjusting the gauge even after sufficient torque has been applied. This allows for convenient orientation of the gauge face. However, with straight threads the face orientation is not adjustable. For that reason, you should use a clamp socket or a union nut to connect the gauge. These will allow you to correctly orientate the gauge after the socket has already been seated on the sealing ring or washer.
Leave Space for Blow-out
For personnel safety, some gauges come with options such as blow-out back. If the gauge ever becomes dangerously over-pressured to the point of rupture, the force from the rupture would be directed through the back of the gauge and not in the direction of anyone standing in front of the gauge face. With these types of products, it is important that the gauge back is not blocked by debris and dirt. Make sure you leave at least 15 millimeters of free space behind the blow-out back.
Vent the Gauge Case
Some gauges come with a small valve on top of the case. Users who don’t understand the purpose of the valve are confused about why it’s included. During shipment, liquid-filled gauges can go through temperature changes that create internal pressure build-up. This can cause the gauge pointer to be off zero. When installing the gauge, open the compensation valve to allow this pressure to vent. It should then be closed again to prevent any external ingress. After you mount the gauge, set the compensating valve from CLOSE to OPEN.
A pressure gauge can do its job only if it’s installed properly. Whether you’re an operator or a maintenance technician, use these tips for proper gauge installation to make sure your gauges perform as they should. Contact WIKA’s technical support team if you have questions about properly installing gauges.


why certain gauges have vent valve on back side or on top side?
We have installed a gauge on a 150mm line but it doesn’t read anything as the line flow is less that half of the pipe and doesn’t fill the pipe most of the time. The gauge is installed at the top of the pipe.
Should we reconsider installing the gauge at the bottom?
Hello,
Thank you for reading our blog. We will have a subject matter expert reach out to you in response to your question.
Hi,
Most times when I replace a pressure gauge I have difficulty to have the gauge in the correct reading position.
When the connection is tight the reading may be upside down or to the sides.
Any tips for this? Many Thanks
Hello David,
We will have a subject matter expert reach out to you with tips! Thank you for reading our blog.
Currently, I’m on a project that use a PG on very high op. temp (972F), op. press 247psig, reformate fluid.. pls advise PG model and installation suitable for this process condition. Is pig tail enough to protect the PG from this high temp?
Hello,
We will have a subject matter expert reach out to you in response to your question. Thank you for reading our blog.